You will need to get the latest drivers for your new motherboard these can be found on the manfacturers website, the main driver that you are looking for is the hard drive controller driver IDE/AHCI/SATA.
Once it ahs finished downloading them put them on a USB or burn them to a cd.
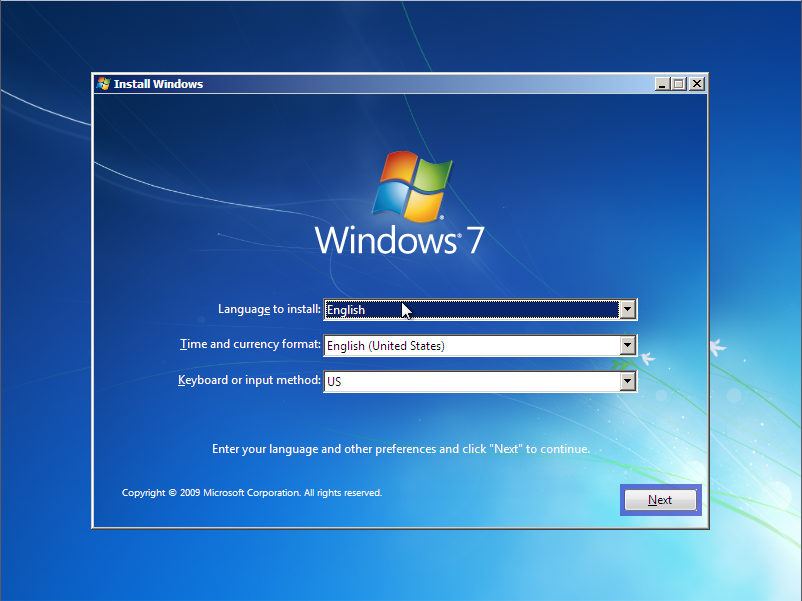
Once you have this turn on your comptuer with your new motherboard installed and put in the windows 7 cd choose to boot from cd by pressing the appropriate button once you get to the screen as below, choose your language and keyboard layout and press next.
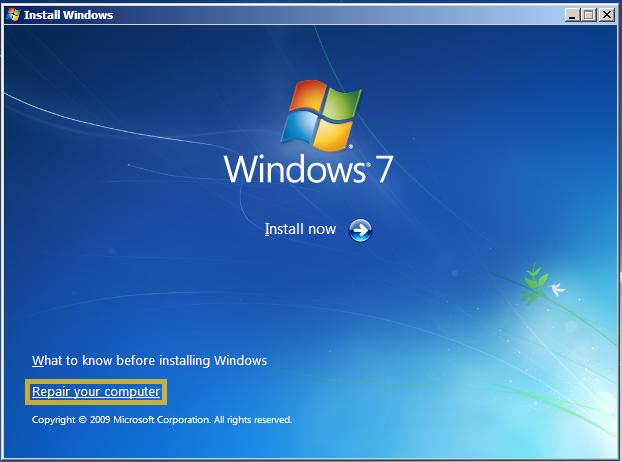
On the next window chosse to repair your computer
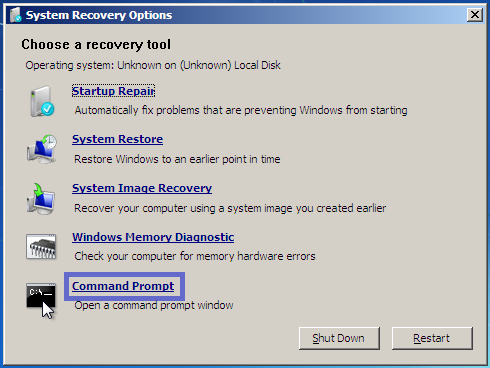
On the next window choose the command prompt, the startup repair wont fix this issue 9 times out of 10 but you are free to give it a shot, if it does not work and you get a BSOD then follow the steps above to get back to this point.
If you burned the drivers to a disk then eject the windows cd and put in your drivers cd or just plug in your USB, You need to figure out which drive your cd/thumbdrive/external drive is – so try different drive letters and type dir until you see the one that has your folder. if you burned a cd, chances are it’s the D: drive(unless it was an HP or something, then it will be E:)if it’s a thumb drive or external hard drive and you only have 1 cd-rom, it’s the E: drive. Maybe F: — check it out.
Once you have that figured out you need to type this
Replace “X” with the drive letter from the previous step:
Hit enter and it should find the drivers you extracted into the folder in the second step.

After it does that, type “exit” and hit enter, then press the “Restart” button.
When windows boots it will take a LONG time to start this is normal do not press the reset button as this will make you have to start over again from the start, go sit back and grab a coffee and wait, once it has booted up fully you will more than likely have to install the rest of your drivers for your new motherboard.